

Hello, everybody!!
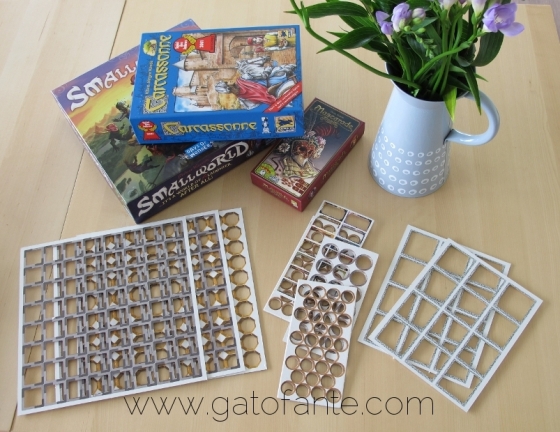
Do you like board games? We love them! And every time we open a new one and separate its pieces, we always keep the frames, well… I always keep the frames… ‘Cause I don’t like throwing things away when I think they can be useful in someway. And today you’re gonna see what I am talking about! Were you waiting for another tutorial? Then, there you go! (and this time is super easy!!)
0. Timing
1 hour (approx.) (It will depend on the drying times of your paints).
1. What we need
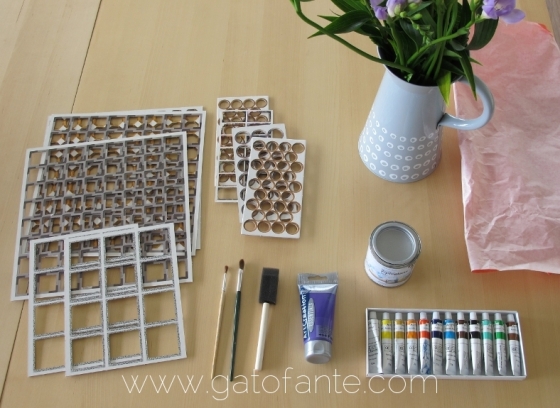
– Board games leftovers (frames of the actual pieces of the games).
– Paints: acrylics or lacquer paint (always water based to avoid terrible messes!). I used lacquer ’cause I prefer its final touch, but go ahead with what you’ve got or like the most!
– Paintbrush or sponge brush.
– Hot glue pistol (and, of course hot glue!).
– Some paper to cover surfaces (so your table doesn’t get painted).
2. Preparation
Choose the frames you like the most. The easiest way is choosing those with regular shapes (regular holes), ’cause the final look will be more regular (but feel free and experiment!).
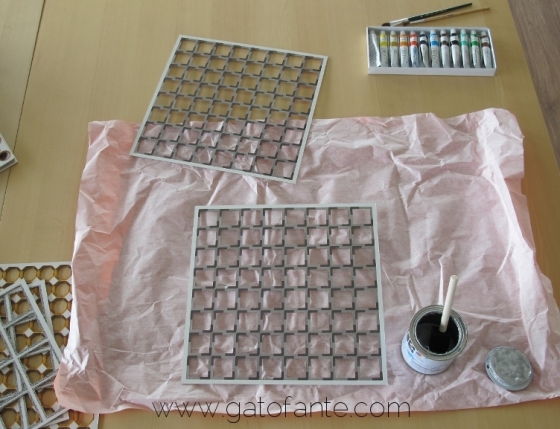
3. Painting
Once you have your pieces, just take your paints and cover one side of them. Use as many colors as you want. I used only one, ’cause I like it better, but it’s completely up to you! If you’re using lacquer paint, remember to paint in two directions (vertically and horizontally) to get the best final result.
Let them dry.

4. Playing around
When the pieces are already dried, play with them: put one over the other, change positions, combine different shaped frames… And when you get the perfect piece, go to the next step!

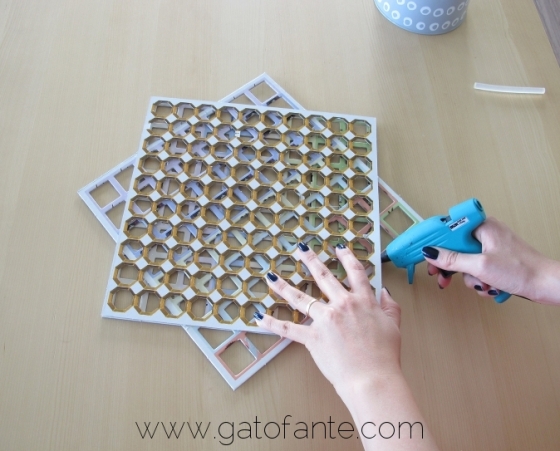
5. Assembling
Using your hot glue pistol, put the pieces together. I found it easier to do by gluing from the back side (in this case, the excess of glue will be less noticed). You won’t need too much glue, since they’re really easy to put together (they’re made of cardboard and they’re really light).
6. Hang your master piece!
You won’t believe this, but… DONE! Just find a perfect spot, and hang your new pieces of art!

7. Final tip
Maybe you prefer to exhibit your art framed, just do it! It will look astonishing!
8. Another color, different shapes, same steps…


9. EXTRA! If you want more…
Just one extra use! I had these ones and I thought they would work perfectly as photo frames, even more, I suddenly remembered the ‘Brady Bunch’ intro, so I went for this…

Just take silly pictures, better if you try to look around, print them and glue them together. If you prefer, you can go for a black and white style or whatever you imagine!


Of course, when I get to put all my family together (or at least the children) it will look much better. But until then, this is what we have! Hahaha!
OK, what do you think about all these ideas? Do you like them? And what do you do with your board games leftovers? Do you keep them? Do you throw them away? Do you do amazing stuff with them? Please, tell us!! We wanna know!
We hope you had a good time here! Thanks for stopping by!
Cheers!
PS. Remember, Pinterest fans, if you want to share, we leave you here the complete photo-tutorial! Thank you!!


Qué chulo!!
Saludos,
Willy.
Enviado desde el iPad
El 01/08/2014, a las 18:58, Gatofante escribió:
> >
¡Muchísimas gracias! :)
Wow, this is such a great idea! It looks like a real piece of art and not a just board game leftover. :)
Thank you SO much, Alexandra!! So happy that you like it!! ♥